This area does not yet contain any content.

Entries in Kim's renos and decos (142)

Tuesday
Apr142009

Kim's long weekend

This is the last day of my Easter weekend (5 days!) and it was fix-up-my-bedroom weekend. Plaster, sand, wait for it to dry, plaster, sand, wait for it to dry.....still waiting.....to hell with it, paint, paint, paint. This went on for 3.5 straight days. I was too impatient to do a great job but it was good enough. You can hardly tell there used to be a closet in my bedroom. Mission accomplished.

Here's a quick glimpse (as I showed you all the other day) of the former room, looking at the mess that used to be the closet (and what a b*tch that was to patch):


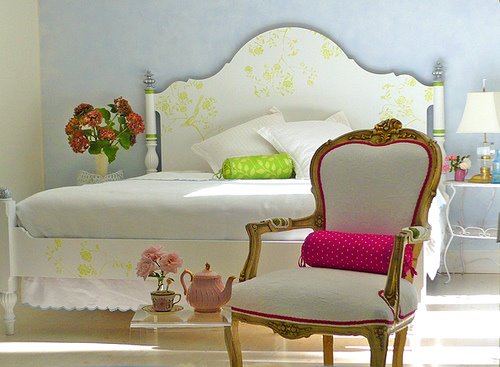
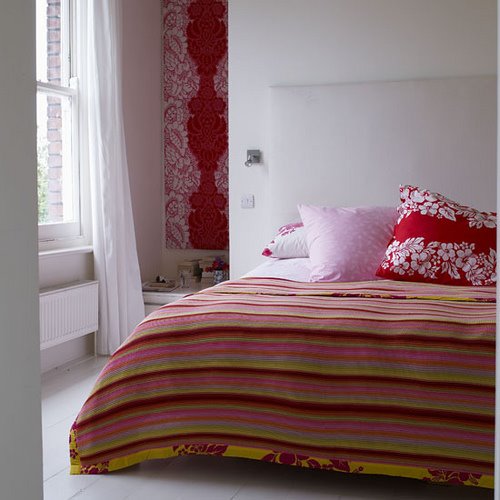
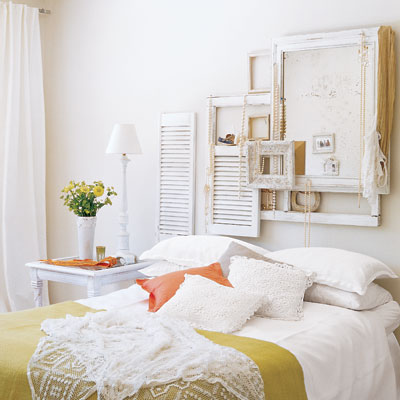
I went with a very pale pink on the walls, which turns out to be hard to photograph accurately. I chose BM's Elephant Pink at 25% strength, and BM's Snowfall White for the trim and the floors. I need to give the floor a few days to cure so in the meantime I am sleeping on my DIY couch. Turns out painting laminate floors works quite well. (I plan on replacing all that cheap laminate with hardwood eventually). This morning I put out a few items I hope to use in the new bedroom, to give you an idea of where I'm going with this project. Vintage boho I'll call it - which means I get to reuse alot of junk I already have as I am still trying to pay off my kitchen and funds are reeeeeally low.


Hopefully next weekend I'll be able to move some furniture in there and get out to Ikea to get the rest of what I need (new headboard-less/footboard-less bed frame and bookcases). More photos to come after that happens.

Friday
Apr032009

Bedroom project

Easter weekend is coming up, and it will be a 5 day weekend for me. I am so excited to have that many days off from my day job so I can get some more work done around the house. I'm thinking about tackling the main bedroom. Here is what it looked like when I bought the house and had just moved in. (I had to include the shot of the hacked-off door - typical of the shoddy workmanship in this house)


The closet was massive, and blocked one of the windows which drove me insane. Since bedroom #2 is tiny and I am using it as a dressing room, this closet was home to only off season clothing and whatever other crap I could cram in it. So one day my boyfriend helped me tear it down.


This is a relatively recent photo of my bedroom.


All of the bedding is from the bedroom in my last house and it will be replaced with I think a white simple duvet cover and all my bargellos. The lamp shades I found a while back at Habitat for Humanity ReStore and I want to turn them into hanging pendants. Those bedside tables are close to 30 years old and are from my parent's bedroom set. I was going to paint the sides/top white and leave the drawer faces alone but now I'm thinking they are just too big and I don't even use the drawers. The screen is a favourite mid-century shop find that I splurged on and I'm thinking about taking off the hinges and hanging a piece on either side of the bed behind whatever side table I send up with. As for a wall colour, I've had light pink in my head for a while, and the other day I started thinking about acid green. Crazy - perhaps. Fun - YES. No clue what to do. At the end of the bed, as I mentionned in a previous post, will be 2 4ft Expedits to house my overflowing magazine collection and knick knacks that I have no other home for. I did a bedroom inspiration post for some ideas several months ago, but I think I'm in need of some new inspiration and a creative boost.

Wednesday
Mar252009

Kim's Komfy Kouch

So I finally got around to getting the instructions for my DIY sofa from my boyfriend and he took a few photos to illustrate some key points. Sorry for the delay folks but I have a terrible memory and have been super busy lately. These are in his words, including the title (which I don't want to take credit for LOL). (Thanks Jeff!!)


First thing is to measure the cushions you are going to use (we used the Ikea's Lillberg sofabed cushions). You want the cushions to fit tightly into the sofa. This will keep the cushions fluffy and in place as you get comfy. The pillows should sit 2-3” below your sides depending on the height of your pillows. You can see the difference in this picture:


The frame is made from 2x4's, the width ones that attach to the legs are first and then 2x4 lengths lay on top around the edges.


Another 2x4 is cut to fill in the gap so the 2x6’s on top sit evenly.


FYI – do not screw your wheels/legs to the couch like this. Use proper screws, something I forgot on the trip to Home Depot. And we're going to switch out 2 of the casters on each of the 2 moveable pieces to finials, because despite using lockable casters, they still move around too much.

Lay some 2x6’s lengthwise on top. You could use whatever width of wood you want, heavy is good so the couch won’t move around when you are. You can see in the first photo an end view without the MDF.


The ledge on the back was made by raising a 2x6 so it would make a space for pillows. If you are going to make a pillow ledge remember to take that into account when making the frame (it was an afterthought on this one).


The sides are finished with the MDF and cut at 45 degree angle at the corners.


The MDF we used (8") is the perfect height to reach from the top of the legs to 2-3” above the frame. The couch sits 12” high to the top of the MDF.


Fill the holes and cracks, prime (we bought pre-primed MDF), paint and accessorize as required (mine still require new pillows - hoping to tackle that ASAP).


Tuesday
Mar242009

House tour on Apartment Therapy

I've got big news! I have the honour of having my home featured on a house tour over at Apartment Therapy today. :-) Click here for the tour. I've been an avid follower of AT for quite some time, and have had some photos of my home(s) included in posts here and there but this is my first house tour. SO COOL. (I'm hoping their readers go easy on the comments as they can often get pretty foul). Here's a sneak peak of some photos I took for them of nooks and crannies around my house (not sure if these will be included in the tour).


Wednesday
Mar042009

My front door

This is just a quick post to document one of the many MANY things I need to do something about in my house. It's the front door. I have to say it's a pretty nifty looking door, and although the inspector I had in here when I was buying the house said I should replace it with a better door (in terms of being better insulated), I cannot bring myself to do that. You don't find doors like this at Home Depot.


One thing I have to keep in mind is the fact that this door opens right into the living room. So whatever I do to it will have to work with the space. The little windows in the door are unfortunately not glass but plastic, and yellow. Not sure if I should work with that or replace them/cover them up somehow. I found a very inspirational photo here a while back, and can't get it out of my head. How freaking cute is this door?!


I'd love to hear your ideas on what I could do with this blast from the past door.