This area does not yet contain any content.

Entries in kitchen (572)

Tuesday
Mar172009

My dream kitchen

This blog chronicles my entire kitchen renovation from start to finish. Greentea Design has provided me with their solid wood kitchen cabinets, and I'm taking care of the rest.

If you'd like to be brought up to date, check out my kitchen remodel blog for an archive of previous posts. I posted recently some before and after photos, and for this final post I'd like to share some photos I took for Greentea, the interview they have added to their website about my renovation, and a video tour of the kitchen.

My kitchen is complete, and I am ecstatic at the result. I can finally say that I have my dream kitchen. It is beyond my expectations, and every time I walk through my front door and see it, I can't help but smile. I am never going to want to sell this house. I can't imagine leaving this kitchen behind. I'd like to take this opportunity to again thank the folks at Greentea Design. They made this dream come true for me, and I am so grateful (and shocked) that they agreed to this partnership. It was alot of fun and hard work (on both our parts) and they were so patient and helpful throughout the whole process. I hope I can get in a trip to Toronto sometime soon so I can finally meet them and see their showroom. So thank you Greentea Design - you guys ROCK and I'm so proud to have a Greentea kitchen.

To start this post off, I wanted to invite you to check out the interview Greentea did with me that is now published on their website. They've divided it into 3 parts - Planning, Demolition and Installation, and the Finished Kitchen. What an honour to have my renovation featured on their main page. Here are some photos they've included in the interview.


I took some photos not too long ago for Greentea that really showcase the cabinetry so I thought I'd share some of them. (For the purpose of getting decent shots of the cabinets, the dining table and chairs were pushed into the living room).

For more final photos, and to see my video tour (complete with cat shenanigans), click HERE.

Friday
Feb132009

White kitchen inspiration

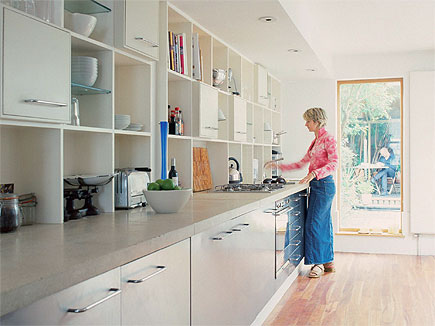
Abby wrote me with this request: "Congratulations on your amazing kitchen redo! I am about to embark on the same project, and am hoping you can offer some inspiration photos - both to give me ideas and to show my better half what the heck I'm talking about. My kitchen is very dark - no windows - so I'm planning to do white cabinets with white countertops (though I'm also toying with doing the cabinets in the palest shade of grey, still with the white countertops), to keep things luminous. I prefer a modern style, though some Regency details are fine, and like just about everyone I'm fond of Shaker cabinets. Definitely nothing country. I'm sure you looked at a million kitchens when you were planning yours, so I'm hoping you'll have some great thoughts for me!"

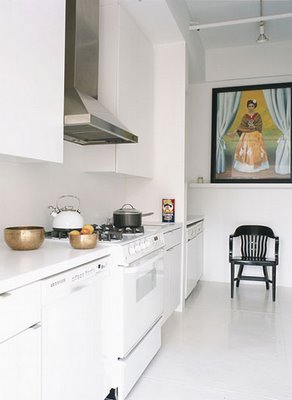
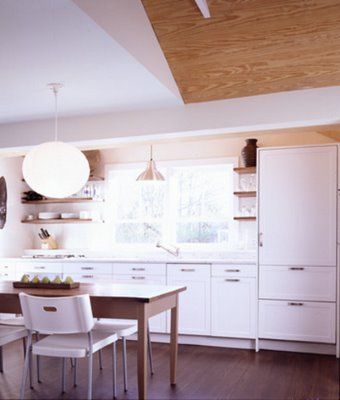
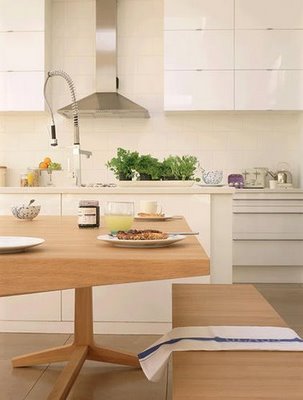
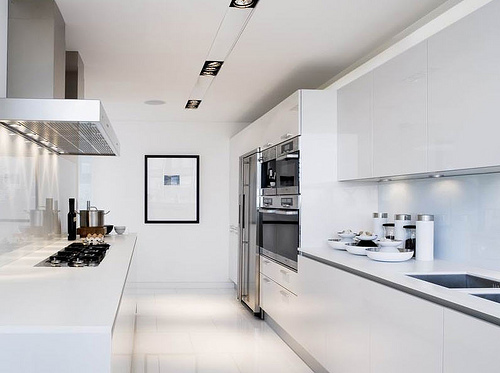
A kitchen with no windows?? And there's no way you can put one in? Or a skylight maybe? How sad! Going with white is a great idea because the light will reflect off the surfaces and keep it nice and bright. And I've already told Abby that I highly recommend the quartz I chose for my kitchen because it has all sorts of little grey and mirrored specks in it that sparkle. :) I have many photos of white kitchens, so I've selected some non-country ones for Abby and her better half. Hope this helps and good luck with your reno!

AT CasaBolig Magasinet
Dixcot LocationsCoburn Architecture
David NettoCanadian House & Home
House BeautifulCanadian House & Home
Verity WelsteadLiving Etc.

Tuesday
Jan272009

Before and after

Just a heads-up for those folks who were following my kitchen renovation. I've done a post over on my kitchen blog of before and after photos, which I think are really helpful to give a realistic idea of the extent of the project. A peek is below, and here is a link to the post.

Friday
Jan162009

A party in my drawers

This blog chronicles my entire kitchen renovation from start to finish. Greentea Design has provided me with their solid wood kitchen cabinets, and I'm taking care of the rest.

If you'd like to be brought up to date, check out my kitchen remodel blog for an archive of previous posts. I posted recently about the hatch door created for access to the basement, and now, how I've organized and made use of all the wonderful cabinetry.

Yes folks, there is a party happening in my drawers. My kitchen cabinet drawers that is. All TWENTY FIVE of them (27 but 2 under the sink are just drawer faces). I cannot begin to explain how exciting it was to organize this kitchen, especially those drawers. I have never had a kitchen that had adequate drawer space. This kitchen has so many that despite all the drawer-type kitchen stuff I have, I still have 2 that are essentially unused (I had to find things to put in them because the thought of empty drawers unnerved me). It's allowed me to be more organized than I have ever been in any of my former kitchens, and I enjoy cooking so much more than I ever have. I've even been taking photos of the meals I've prepared. This weekend I am having my family over for dinner for the first time since the reno has been completed. I am so stoked to show it off. And I know they're all dying to see it in person finally.

I thought for one of my last kitchen posts I would show you how much space these incredible Greentea cabinets have and the party that is going on in my drawers. Because let me tell you, having a drawer dedicated to spices is a party in itself!! Sorry if this is a little long-winded, but I felt compelled to document all of it (in the hopes of calming my level of excitement perhaps?)

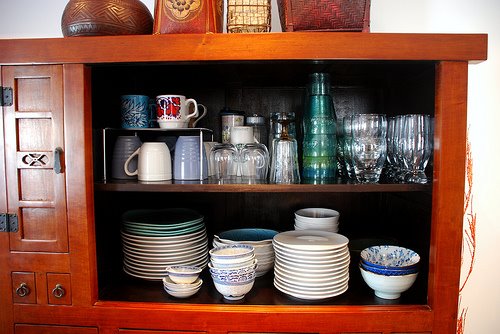
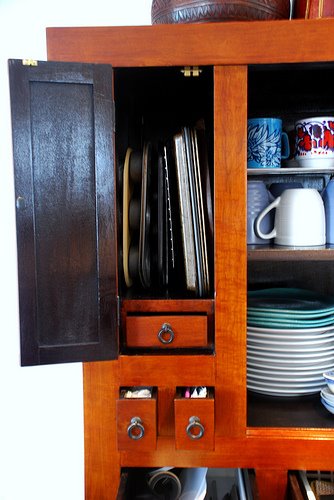
Let's start with the pantry. I adore this unit so much. When I sell the house, I have to take the pantry with me. It's a stunning piece of furniture, I've got to say. And I must mention that since all the cabinets have sliding doors (except the uppers), they are SO easy to remove which allows you a clear view of everything inside. Great for cleaning/organizing binges.


Here is the top section of the pantry, which houses essentially ALL of my dishes (alot of which need replacing) and glassware.


This is a door to the left of the top section of the pantry. It is PERFECT for housing baking sheets and anything else flat, especially useful for me because my range (where I would typically put those items) does not have a drawer for storage. It also has a little secret drawer inside, which I figured I'd stash money in for pizza nights (Jo is laughing right now because she knows how much pizza I consume).


Below is the first row of drawers in the pantry. It houses knives, small kitchen gadgets, a drawer dedicated to the cats' food bowls and cans of wet food, chopsticks, and my growing collection of wooden spoons.

For more photos, and to leave comments, click HERE.

Monday
Jan122009

The basement hatch

This blog chronicles my entire kitchen renovation from start to finish. Greentea Design has provided me with their solid wood kitchen cabinets, and I'm taking care of the rest.

If you'd like to be brought up to date, check out my kitchen remodel blog for an archive of previous posts. I posted recently about the backsplash, dining table and yet more decorating. Now I thought I'd dedicate a post to the hatch door created for access to the basement - a GENIUS idea.

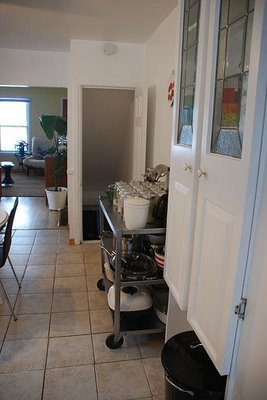
I cannot express the magnitude of how genius of an idea it was to take out part of the wall that sectioned off the basement stairs, and have a hatch door created. I have talked about this in previous posts, but OMG it turned out so swimmingly that I had to dedicate a post to it. This is such a great idea for folks out there who have really limited space, as I do. This house is 12' 2" wide - so that is the width of the kitchen, and the section where the wall to the basement was made that about 9.5' wide. Let me show you some before photos. Now, this decision was made partway through the demolition phase so I did not specifically take before photos of the area. Below are some I happened to have already (and one I snuck during demo when I was deciding what to do).


Leaving that wall meant the pantry unit would have had to have been placed closer to the door to my office and with the fridge there, that would have made the doorway very tight. Then with the dining table down the middle of the space, you would have had to shimmy sideways to get by the table, or I would have had to use a small 4 person table instead. Here are a couple photos I took during the reno.


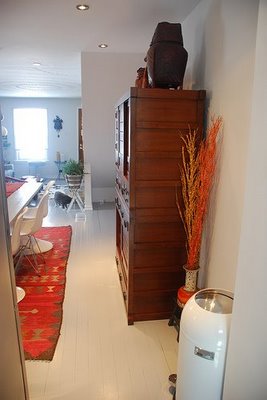
Below, my completed hatch. Genius I tell you - GENIUS!! Worth every penny. And I love that my house, that was previously lacking any architectural feature WHATSOEVER, now has something slightly quirky, and isn't just a straight boring wall.

For more photos, a video I made to show the hatch in action, and my new artwork, click HERE.